【Unity】Post Processing v2 覚書
Unity 2019.1.9f1 で作業してます。今更ですが、v1 から結構変わったので覚書しておきます。
インストール
メニュー > Windows > Package Manager から パッケージマネージャー を開きます。
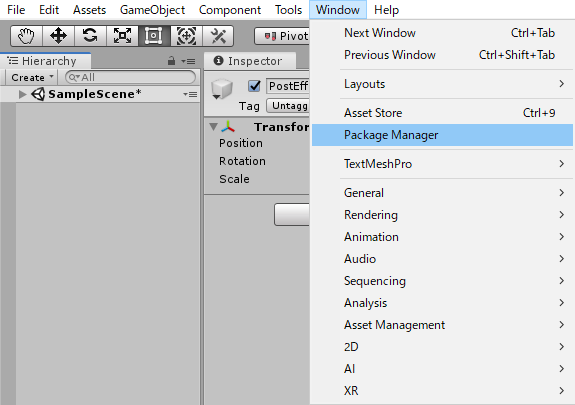
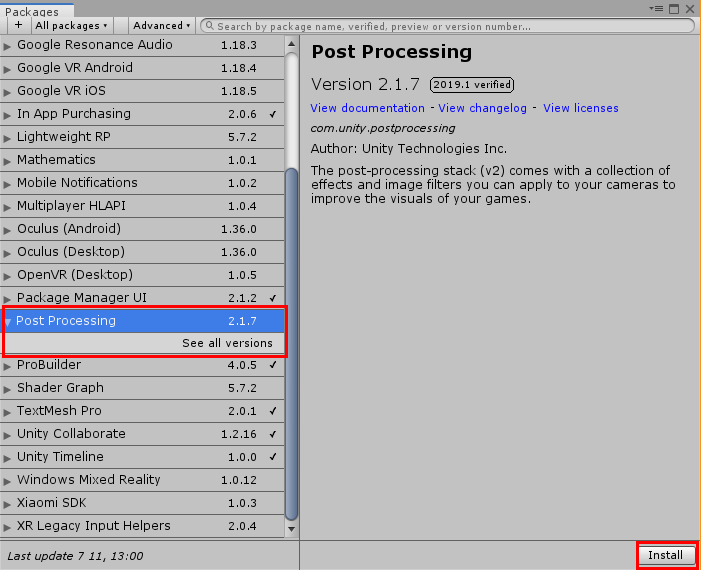
パッケージマネージャーから Post Processing を選択し、右下のインストールを押します。
Post-process Layser の追加
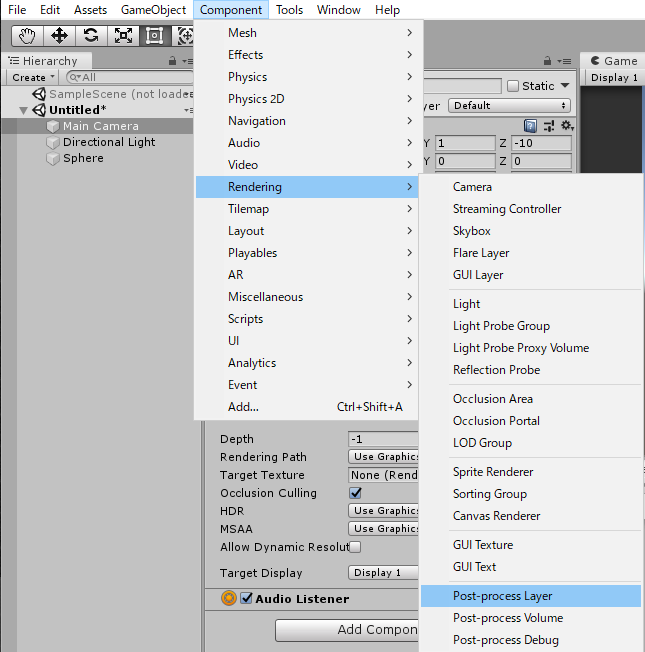
ポストエフェクトをさせるカメラに Post-Process Layer を追加
カメラオブジェクトを選択し、メニュー > Component < Rendering > Post-process Layer で カメラにコンポーネントを追加します。
Post-process 用のレイヤーを追加
メニュー > Edit > Project Settings… から Project Settingsウィンドウを開きます。
Tags and Layers を開き Layers にポストエフェクト用のレイヤーを追加します。
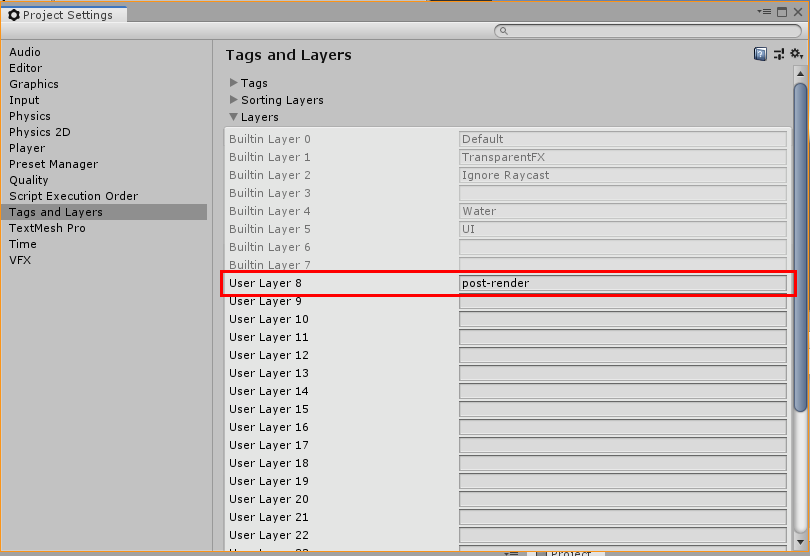
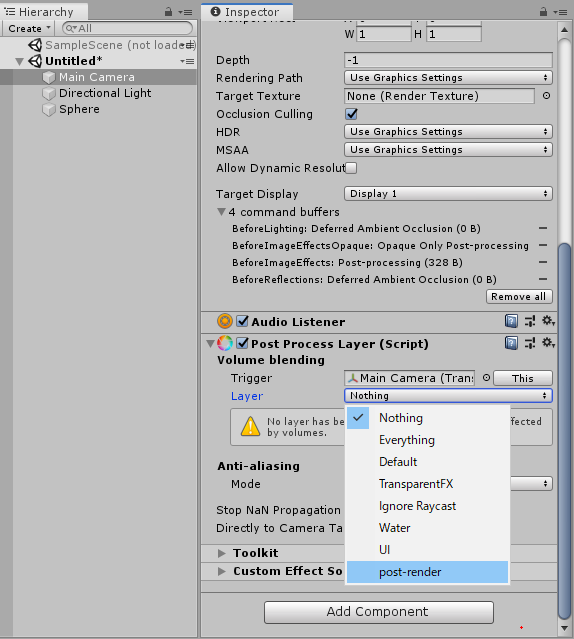
Post Process Layer コンポーネントの Layer が Nothing となっていると思うので、作成した post-render レイヤーを設定します。
カメラ側の設定はこれで完了です。
Post-process Volume の追加
エフェクトを反映させる空間を作る。
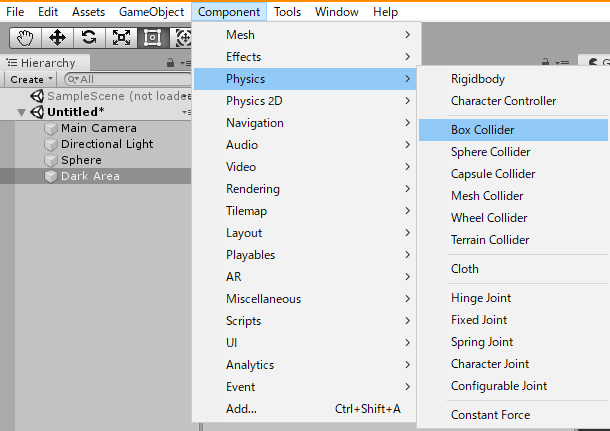
空のゲームオブジェクトを作り、コリジョンを追加します。
Layer を post-render にする
Layter を 先に作成した post-render にし、他のコリジョンが押しのけられないよう Is Trigger にチェックを入れトリガーにします。サイズはとりあえずカメラが入る大きさにしました。

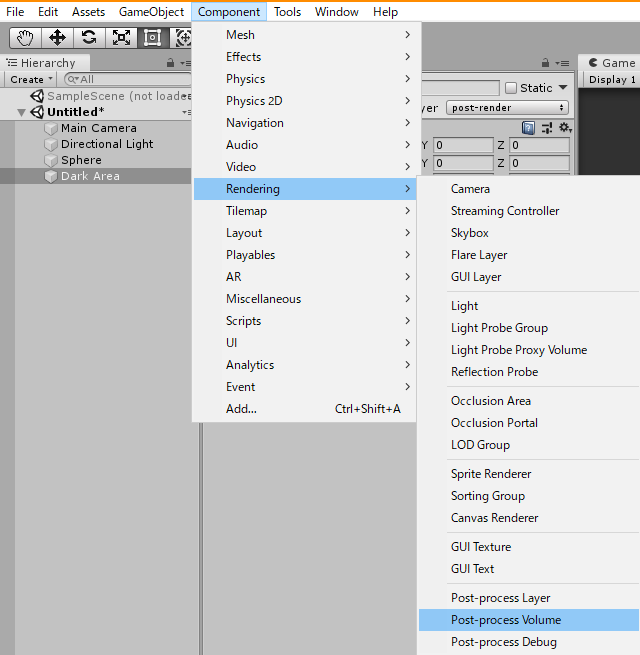
Post-process Volume を追加する
メニュー > Component > Rendering > Post-process Volume を選択しコンポーネントを追加します。
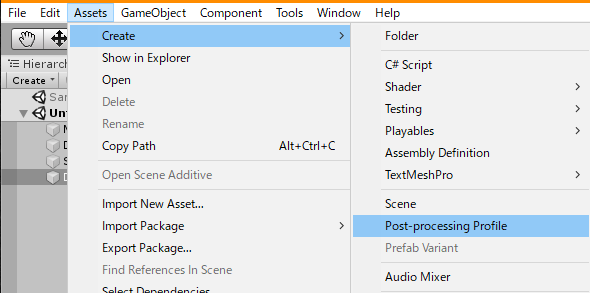
エフェクト用の Profile Asset を作成する
適当なフォルダーを選択し、メニュー > Assets > Create > Post-processing Profile を選択し 新しい Profile Asset を作成します。
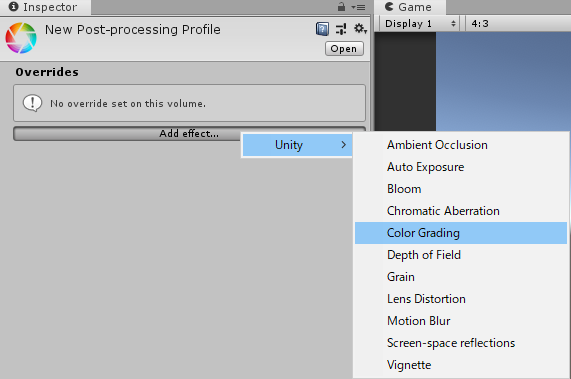
作成したプロファイルを開くと Inspector に Add effect… ボタンがあるので、追加するエフェクトを選択します。今回は暗くするだけなので Color Grading を選択します。
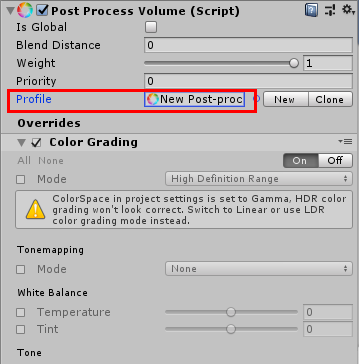
Post-exposure (EV) にチェックを入れ -5 あたりを設定しておきます。
プロファイルを 反映させる
先に作成した Post-process Volume の Profile に 作成した ProfileAsset をドラッグ&ドロップします。
完成
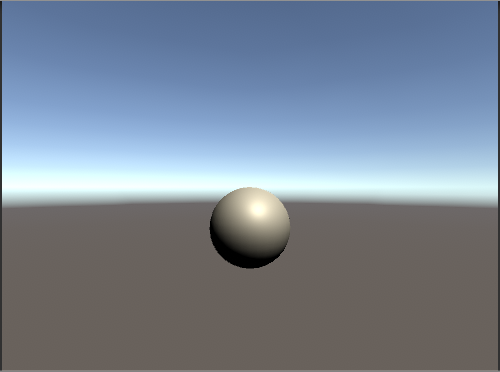
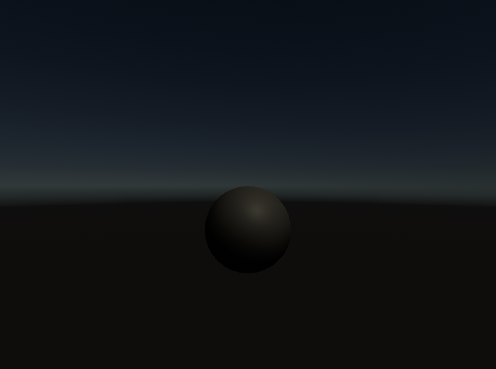
これで作業完了です。カメラが設定した領域に接触するとエフェクトが反映されているはずです。
暗くするエフェクトが地味だった。:p
ボリューム単位でプロファイルが設定できるので、トンネルの中は暗くし、ビネット効果をつけたり、明るい場所ではブルームを強くするなど自由度が上がった反面、お手軽さは減少した印象です。
全領域に反映させたい場合は Post Process Volume の Is Global にチェックを入れるとコリジョンは必要ありません。