【Unity】カスタムエフェクトでテクスチャを定義するメモ【PostProcessing】
2020年1月28日

Post-processing Stack v2 にてカスタムエフェクトでテクスチャを定義するサンプルコードです。
検索ではあまり出なかったのでメモ
可能な限りシンプルなコードにしてます。
プロファイルのコード
using System;
using UnityEngine;
using UnityEngine.Rendering.PostProcessing;

namespace posttest{

[Serializable]
[PostProcess(typeof(PostTestRenderer), PostProcessEvent.BeforeStack, "Custom/PostTest")]
public sealed class PostTest : PostProcessEffectSettings
{
	// 歪ませるサイズ
	[Range(0, 100)]
	public FloatParameter scale = new FloatParameter { value = 1.0f };

	// テクスチャのプロパティを定義する
	public TextureParameter normalTexture = new TextureParameter { value = null };

	// IsEnabledAndSupportedを定義したほうがいいです。
	public override bool IsEnabledAndSupported( PostProcessRenderContext context)
	{
		bool state = enabled.value && normalTexture.value != null;
		return state;
	}
} // class PostTest

public sealed class PostTestRenderer : PostProcessEffectRenderer<PostTest>
{
	//----------------------------------------------------------------------------
	public override void Init() => base.Init();
	//----------------------------------------------------------------------------
	public override void Release() => base.Release();
	//----------------------------------------------------------------------------
    public override void Render( PostProcessRenderContext context)
	{
		var sheet = context.propertySheets.Get( Shader.Find("Hidden/Custom/PostTestShader"));
		sheet.properties.SetFloat("_Scale", settings.scale);
		var normalTexture =
			settings.normalTexture.value == null ?
			RuntimeUtilities.blackTexture :
			settings.normalTexture.value;
		sheet.properties.SetTexture( "_NormalTexture", settings.normalTexture);

		Matrix4x4 clipToView = GL.GetGPUProjectionMatrix(context.camera.projectionMatrix, true).inverse;
		sheet.properties.SetMatrix("_ClipToView", clipToView);

		context.command.BlitFullscreenTriangle(context.source, context.destination, sheet, 0);
 	}
} // class PostTestRenderer

} // namespace posttest
ファイル名とクラス名を同じにしないと、保存されないので気をつけてください。
class PostTest を PostTest.cs に書く
シェーダーコード
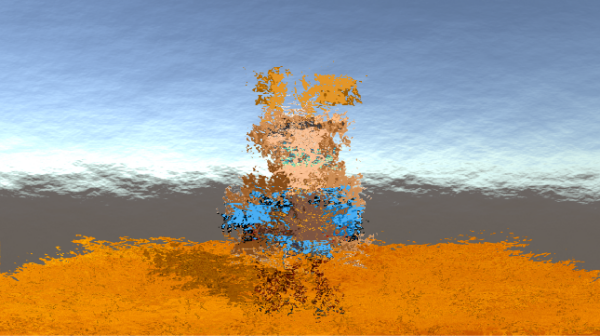
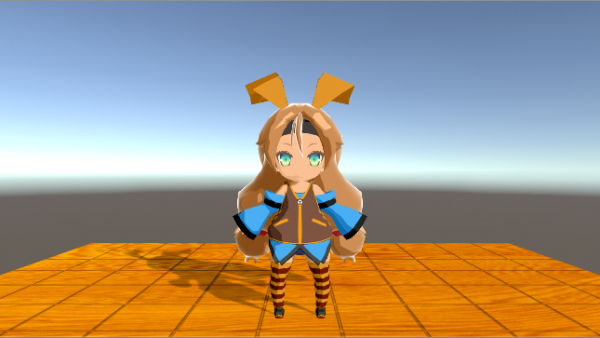
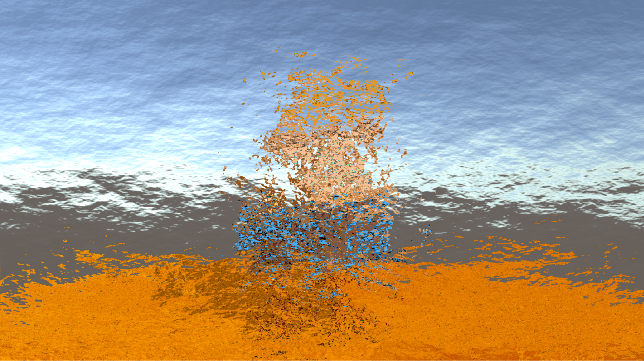
定義された _NormalTexture を受け取り 元画像を適当に歪ませてます。
Shader "Hidden/Custom/PostTestShader"
{
    SubShader
    {
		Cull Off ZWrite Off ZTest Always
		Pass
		{
			HLSLPROGRAM
			#pragma vertex Vert
			#pragma fragment Frag
			#include "Packages/com.unity.postprocessing/PostProcessing/Shaders/StdLib.hlsl"

			TEXTURE2D_SAMPLER2D( _MainTex, sampler_MainTex);
			TEXTURE2D_SAMPLER2D( _NormalTexture, sampler_NormalTexture);

			float4 _MainTex_TexelSize;
			float4 _NormalTexture_TexelSize;
			float4x4 _ClipToView;

			struct v2f
			{
				float4 vertex : SV_POSITION;
				float2 texcoord : TEXCOORD0;
				float2 texcoordStereo : TEXCOORD1;
				float3 viewSpaceDir : TEXCOORD2;
			};

			v2f Vert( AttributesDefault v)
			{
				v2f o = (v2f)0;
				o.vertex = float4( v.vertex.xy, 0.0, 1.0);
				o.texcoord = TransformTriangleVertexToUV( v.vertex.xy);
				o.viewSpaceDir = mul(_ClipToView, o.vertex).xyz;
#if UNITY_UV_STARTS_AT_TOP
				o.texcoord = o.texcoord * float2(1.0, -1.0) + float2(0.0, 1.0);
#endif
				o.texcoordStereo = TransformStereoScreenSpaceTex( o.texcoord, 1.0);

				return o;
			}

			float _Scale;

			float4 Frag( v2f i) : SV_Target
			{
				float3 normal = SAMPLE_TEXTURE2D( _NormalTexture, sampler_NormalTexture, i.texcoord);
				float2 vec = normal.xy * 2 - 1;
				float3 color = SAMPLE_TEXTURE2D(_MainTex, sampler_MainTex, i.texcoord + vec*_Scale/256);

				return float4( color, 1);
			}

			ENDHLSL
		}//Pass
	}//SubShader
}
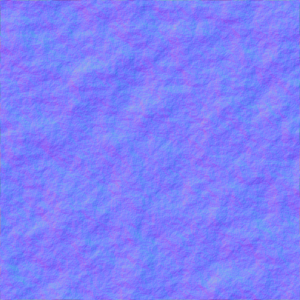
このサンプルでは通常のテクスチャとして読み込んで rgb の成分を 256 段階として書いてます。

Normal Texture にテクスチャを設定すると PostTestRenderer クラスが PostTestShader シェーダーに転送してくれます。
通常のテクスチャの定義と違うので注意が必要
通常のシェーダーでは 普通のテクスチャと ノーマルマップのテクスチャ を区別できるように定義できるのですが、PostProcessEffectSettings でどのように定義するかは不明。ご存じの方がいれば教えていただければ幸いです。
定義部分
TEXTURE2D_SAMPLER2D( _NormalTexture, sampler_NormalTexture);フェッチ部分
float3 normal = SAMPLE_TEXTURE2D( _NormalTexture, sampler_NormalTexture, i.texcoord);スケールを変更することで、ノーマルマップからUVをずらしてメインマップを描画してます。


